Monday, December 18, 2017

Mr. Robot Fight Club

So I heard some good things about Mr. Robot. Being a computer nerd, I decided to watch the series.

It starts off interesting enough. Interesting plot, quirky characters, believable hacking scenarios. Geeky cyber-security engineer saves his company's biggest client from a malicious cyber attack, and becomes entangled with a hacker group called fsociety, who wants to bring down E Corp, the world's largest conglomerate.

Thing is, the more episodes I watched, the most I felt I've seen this before.

  • Long, gloomy shots with an olive-green tint? Check.
  • The loner main character, who has bouts of depression and paranoia? Check.
  • An underground group who wants to destoy consumer debt records, so everyone gets a clean slate? Check.
  • An alter ego who occassionaly takes over and runs the show without the person's awareness?? Tyler Durden, is that you? No, it's Mr. Robot!

Needless to say, I stopped watching Mr. Robot after season one.

Friday, November 24, 2017

iA Writer - Denote Alternative

Just noticed that my Denote notes on the smartphone are not being synced back to Dropbox. I did change my Dropbox password recently, so I thought that must've been the problem.

On Denote, I don't see any option to change/update the Dropbox password, so I assume it's probably done during initial setup after installation.

I promptly uninstalled and re-installed Denote. No prompt to sync with Dropbox. While most newer apps would have a three-dot settings/overflow icon on the action bar, none can be found anywhere in the UI. Given that Denote was last updated October 2013, I'm not surprised.

Some tablets and mobiles have a bottom navigation bar, which may be used to call up the settings menu, but my Samsung Galaxy S7 does not display this. After some research, the workaround is to enable Assistant menu under Accessibility --> Dexterity and interaction. A floating icon shows up where you can call up the settings menu. From this point on, I was able to get Denote to start talking to Dropbox. However, my notes are still not showing up.

Turns out Dropbox dropped support for its v1 API on Sept 2017 in favour of v2. 2Storks, the developer of Denote, didn't update the app to make use of v2, hence sync functionality is broken. I was thinking of switching to Textfile, but turns out that that one was also not updated.

All I want is a text editor that syncs (two-way) with Dropbox. After evaluating a few apps, it came down to Monospace and iA Writer.

Despite what Monospace says, I can't find the option to sync with Dropbox. Syncing with Google Drive is a pro/paid feature. That said, I quite like the hashtag feature for file organization.

From my limited time with iA Writer, it seems to fit the bill. Syncs properly with Dropbox. Even supports Markdown. Swipe left and right to change views.

Tuesday, October 17, 2017

Check Running Process

What we'd like to do here is to check for the presence of a running process. If present, do x (echo Running). If not, do y (restart said process).

First step is typically done by running ps and doing a grep on the output for the process name (ps -ef|grep process). This merely checks for presence and not the state of the process. In the case of no match, grep will still match the original grep command, thus reporting a hit. To get around this, do an inverse-match for grep (ps -ef|grep -v grep|grep process). Another option is to use pgrep.

So you'd have something like this:
#!/bin/sh

if ps ax | grep -v grep | grep process > /dev/null
then
    echo "Running"
else
    echo "Not running. Starting."
    /opt/process/bin/process restart
fi

If you plan to run the script as a cron job, best to silence all output (/opt/process/bin/process restart &> /dev/null).
Or better yet, run the check commands as the cron job itself (every 15 minutes):
*/15 * * * * pgrep process > /dev/null || /opt/process/bin/process restart &> /dev/null

Cron, Cron Jobs, and Crontab

Cron in a Linux/Unix utility/daemon that runs tasks (cron jobs) in the background at regular intervals.
A crontab (cron table) is basically a file that contains the schedule of cron jobs to be run at specific times.

  • crontab -l to list the crontab entries
  • crontab -e to edit the crontab file
  • crontab -r to remove your crontab file

Cron entries use the following syntax:
*     *     *   *    *        command to be executed
-     -     -   -    -
|     |     |   |    |
|     |     |   |    +----- day of week (0 - 6, where Sunday=0)
|     |     |   +------- month (1 - 12)
|     |     +--------- day of month (1 - 31)
|     +----------- hour (0 - 23)
+------------- min (0 - 59)

Entry: Minute when the process will be started [0-60]
Entry: Hour when the process will be started [0-23]
Entry: Day of the month when the process will be started [1-28/29/30/31]
Entry: Month of the year when the process will be started [1-12]
Entry: Weekday when the process will be started [0-6] [0 is Sunday]

* in the minute field means command will be executed every minute.
*/10 means command will be executed every minute. This repeat pattern is not supported by all OS, so better to just use 0,10,20,30,40,50.
You can also use "-" to represent a range of values. For example, 0 1-2 * * * means command will be run at 1am and 2am only.
For readability, you can also use sun, mon, tue, wed, thu, fri, or sat for day of the week. 7 is also acceptable for Sunday.

After editing the crontab, remember to run "service crond reload" to take the new jobs into effect.

Not sure about your crontab syntax? Try crontab.guru.

Friday, October 13, 2017

STDIN, STDOUT, and STDERR

Have started scripting again, and have forgotten all about stdin, stdout, and stderr - and the various syntaxes. Time for a refresher.

Ok, so if I was to do an ELI5:
Every process is initialized with three open file-descriptors: stdin (standard input), stdout (standard output), and stderr (standard error).

  • stdin (file handle 0) is where the process gets input from you (usually from the keyboard or from pipes)
  • stdout (file handle 1) is where process output is displayed (usually sent to the console or a file or a pipe)
  • stderr (file handle 2) is basically stdout for errors (usually to stdout unless redirected elsewhere)

Let's take this for example:
myscript <infile 2>errfile

  • A process is created for myscript.
  • infile is opened as standard input for myscript (file handle 0)
  • errfile is opened as standard error (file handle 2)
  • myscript output is sent to /dev/tty by default (file handle 1)

Separating stderr from stdout is a great idea when you know command execution will result in errors, and you don't want them cluttering up valid entries in your stdout. Great example is when you're grepping for something. Most of the time, you get one or two hits, yet stdout is filled with "Permission denied" entries for protected directories. What to do?

grep needle /home/haystack/* > results.txt
Valid results redirected to results.txt; bad results displayed on the console.

grep needle /home/haystack/* 2> errors.log
This time, stderr (2) is redirected to errors.log, while valid results are displayed on the console.

grep needle /home/haystack/* &> output.txt
With this, everything (stdout and stderr) is redirected to output.txt, with nothing sent to tty.

If you want all results displayed on screen and saved on file, pipe them to tee:
grep needle /home/haystack/* |& tee output.txt

If your version of bash is giving you a syntax error, try this less elegant version:
grep needle /home/haystack/* 2>&1 | tee output.txt
This basically redirects stderr (2) to stdout (1).
1>&2 redirects stdout (1) to stderr (2).

What if you simply do:
grep needle /home/haystack/*  | tee results.txt
You get stdout on the screen and in the file, but the console will also display stderr.

Note that the above examples will overwrite if the file exists. Use >> and tee -a to append.

Wednesday, October 4, 2017

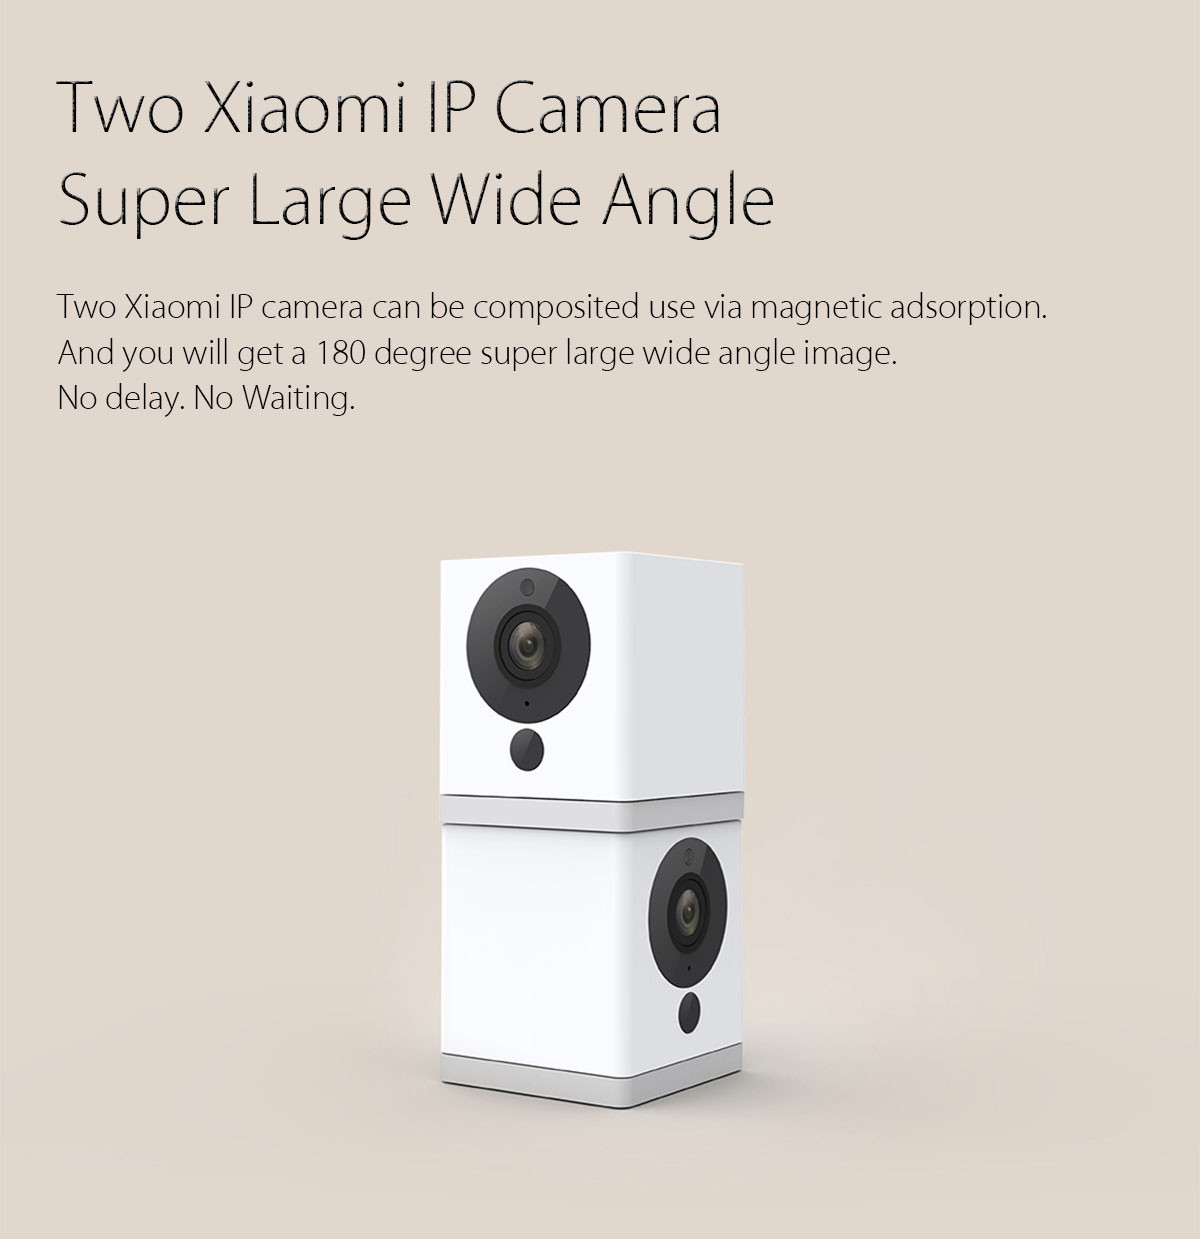
Xiaomi Xiaofang 1080P Wireless IP Camera Review

Found some time to finally sit down and write a review of the Xiaomi Xiaofang WiFi IP camera. The camera itself is a glossy white 50mm plastic cube - lens assembly in front, speaker, status LED and USB ports (full-size and micro-USB) at the back, and microSD slot, air vent and reset button at the bottom. The articulated arm and swivel base adds another 6mm to the height. Weight is 100g.

For the price, I'm very impressed with what it supposedly can do.

  • 1080P (1920x1080) full HD resolution video feed via the f2.0 aperture 110-degree lens. If you position two Xiaofangs together, the app supposedly creates a 220-degree panorama.
  • The lens assembly also has an IR-cut double filter with 2 infrared LEDs, which provides night vision up to 9 meters. (You can hear a click when the filter cuts in.)
  • The Mi Home app for the Xiaofang has a Speak button, which enables the intercom functionality.
  • The camera also come with smoke and CO alarm monitor function. Basically, it uses sound recognition to detect that the smoke or CO alarm has triggered, and then sends you a notification.
  • The camera can be configured to record video constantly onto the microSD card (64GB max) or only when motion is detected. Taking of timelapse photos also supported. The videos are also synced to Xiaomi's cloud storage (free!), so you can access/view them remotely.
  • While watching the realtime video feed, you can take stills or record video.
  • Network connection is via WiFi (2.4GHz 802.11 b/g/n). Remote access via WiFi or cellular network.
  • The camera requires 5VDC 1A and is powered via the microSD port. Given that USB ports are almost everywhere (heck, you can even use powerbanks), that opens up options where the Xiaofang can be installed. Add that magnetic base into the mix, the options are limitless!

Initial setup is a bit tricky though, if you don't understand Chinese/Mandarin.
  1. First off, download the Mi Home app from the Google Playstore. The retail box comes with a QR code, which should give you the link, or just do a search from within the Playstore.
  2. Set your location/locale to Mainland China, or the camera will not work. Apparently, it's not supposed to be used outside of China.
  3. Log in to your Xiaomi account, or create one if you don't have one yet.
  4. Click on the "+" icon to Add Device. Select the Xiaomi Xiaofang from the list. Note that you might see two entries. Choose the one with the shorter title, as the other one is for WiFi Direct mode.
  5. Apply power to the camera.
  6. Long press the setup button at the bottom, until you hear a voice prompt, which says/means "Waiting for connection".
  7. At this point, enter the credentials for the WiFi network that the camera is supposed to connect to using the Mi Home app.
  8. Point the camera to the Mi Home, which should now be showing a QR code. Another voice prompt will indicate successful connection.

Note that the camera's default setting is to auto-record. Might want to turn that off.

Been playing with the camera for a couple of days now, and so far so good. Most of the features work as advertised - speak, audio, full screen, look back, timelapse, night vision, and dormancy. There are a few times when I cannot connect to the device, but it's easily fixed with a power reset. Not so convenient when you're in a remote location.

Motion detection is a bit sensitive. The clouds would pass by, changing the sunlight patterns on the blinds, and that's enough to trigger motion detection. Downloading videos also take a while, probably because they're coming from some server in China. Motion-detect videos seems to be limited to 16 seconds.

The camera comes with firmware version 3.0.3.56. The app has been nagging me to upgrade to 3.2.0.30, which I'm holding off, as there are reports that after upgrade:

  • IR LEDs do not turn off even during daytime
  • Camera not working when used outside China (geoblocked?)
  • microSD card not detected

There is an option to lock down access the camera with a PIN password or fingerprint, but not sure how secure that really is. *cough* backdoor *cough*

For those who don't want the video feeds going to China, there is an option to apply some hacks via the microSD card to disable cloud service and stream via RTPS. That said, some of the functionalities become broken. Installation instructions here.

All in all, a neat little WiFi security camera.

Saturday, September 30, 2017

LineageOS 14.1 on the Galaxy S4 Mini

Ever since the wife started using the LG G Pro 2 (D838), the Samsung Galaxy S4 Mini (GT-I9195T) has been gathering dust on a shelf. Decided to put a custom ROM on it, and was pleasantly surprised that it's already running CM13.1 (Android 6.0.1). Can't remember when I did that. And given that it already has a TWRP custom recovery on it, flashing LOS14.1 on it is a cinch.

Download latest firmware here:
https://download.lineageos.org/serranoltexx

Get Google Apps here:
http://opengapps.org/
Choose either the pico, nano, or micro variant of the Android 7.1 gapps (ARM platform).

If you want to get root, download the addonsu package from https://download.lineageos.org/extras

Copy all three files to a microSD card, and let's start.

  1. Boot into recovery (Vol Up & Home & Power).
  2. Wipe the Cache, System, and Data partitions.
  3. Flash the LOS firmware, gapps, and the addonsu zips.
  4. Reboot system.

First boot takes a very long time, so don't be tempted to restart the phone. Just let it finish its work. Once booted, Go to Settings, About Phone. Tap the build number seven times to enable Developer Options. Change root access to your desired method.

Sunday, September 17, 2017

Xiaomi Mijia Infrared Motion Sensor Dimmable LED Night Light Review

For this post, I'm reviewing the Xiaomi Mijia night light. Well, the title pretty much mentions all the features of this item.
  • The light has 120-degree sensing angle and sensing distance up to 5 to 7 meters. Using advanced photosensitive sensor and human infrared sensor technology with anti-infrared interference function, the light can turn on automatically in the dark and light up for 15 seconds.
  • The light is powered by 3 AA batteries (not included). In standby mode, ultra-low power consumption of only 0.25mW. Toggle switch chooses between two luminance levels - 0.7Lm and 3.8Lm, with battery life of 12 months and 6 months, respectively.
  • Applied Fresnel ultra-thin lens to enhance the sensor performance. Fish scale total reflection structure reflect the light to the diffuse reflector and the light spreads evenly in the lampshade to bring a better visual experience.
Okay, first impression. The night light is much smaller than what I expected, having only seen it from the online product listings. The build and finish is excellent though - clean and minimalist. The top and side surfaces of the night light is very smooth, with some grooves at the bottom to provide some grip. Still took me a while to open up the night light to install the three AA batteries.

It works as advertised. Doesn't activate or turn on during daytime. In the dark, it senses movement almost instantaneously, even from afar, and lights up. Even at 3.8Lm, the 2700K warm white light is not too glaring, yet bright enough to light up its immedate surroundings. Light comes out from a circular strip around the top surface. Output is quite uniform and even.

In terms of installation, it can be attached to flat surfaces via double-sided tape. A plastic film with a hole can be stuck to the night light, which can them be suspended/mounted on a hook or nail. In my case, it's just positioned on the floor facing the hallway entrance. Turns on every time someone passes by.

Tuesday, September 12, 2017

Book 2017.09.12 - The Boy Kings: A Journey into the Heart of Social Network

As employee number 51, Katherine Losse writes about her stint at Facebook. From her start as a lowly $20/hour customer support to internationalization product manager to Mark Zuckerberg's ghost writer.

It was an interesting read on how Facebook developed into the all-encompassing behemoth it is now - Mark's obsession on being "technical" and making everything "transparent". Lots of anecdotes about the boy kings and personalities who make up Facebook and philosophical musings about real life, friendships, connections, and technology.

The tl;dr version - Facebook may be good for your "social" life, but not your social life.

After five long years with Facebook, Kate had enough of the cult, and sold off her Facebook shares (pre-IPO), and moved to Marfa, Texas to write this book.

The parting paragraph: "I think that this may be the truth of these technologies that we carry around: We film and post and read social media constantly in order to capture something, some exciting moment or feeling or experience that we are afraid to miss, but the things about life that we most want to capture may not be, in the end, capturable. And, perhaps, planning and efficiency themselves, the things that technologies like Facebook want to make easy and constant, are not as easily grasped as we think. Because, in all of our newfound efficiencies, what have we lost? What, like the moment at the Ice Plant when the glass shattered, is too unplanned and ephemeral to predict and capture with our technologies? Should we keep trying, or should we take a breath, and let some things go unshared and unrecorded, realizing that this ineffability may be the essence of life itself?"